


Automate your patching: Step by step guide using AWS patch manager

Table of Contents
Introduction
SSM Patch Manager, also known as AWS Systems Manager Patch Manager, is a service provided by Amazon Web Services (AWS) designed to assist users in the efficient management and automation of software patching on their virtual machines and instances. This service operates under the broader umbrella of AWS Systems Manager, a management solution facilitating automated operational tasks across various AWS resources.
The primary purpose of Patch Manager is to simplify the process of ensuring instances are up to date with the latest security patches and updates. It achieves this by allowing users to establish patch baselines, which define the specific rules guiding the application of patches to instances. Users have the flexibility to create their own customized baselines or use existing ones provided by AWS.
Prerequisite
Make sure to have the SSM agent installed on your servers (EC2s) which you want to patch by the SSM patch manager. If SSM agent is not installed it’s very likely that you might not find your server when we need to select target instances in SSM.
Navigate to SSM and on the left panel search “Patch Manager”.
Create Patch Policy
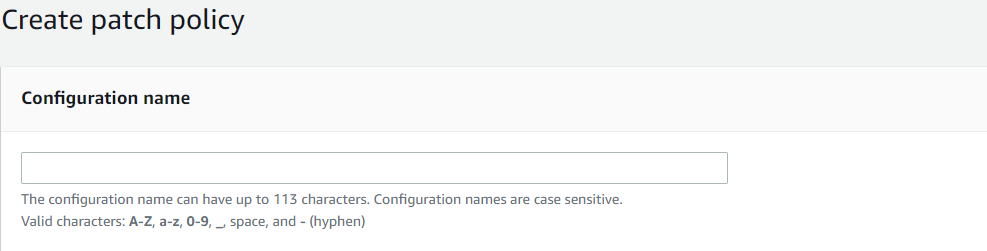
Configuration Name
Let’s give a logical name to our configuration so when there are multiple of these patch policies, make sure to enter the valid name and something that can be related.
Scanning and Installation
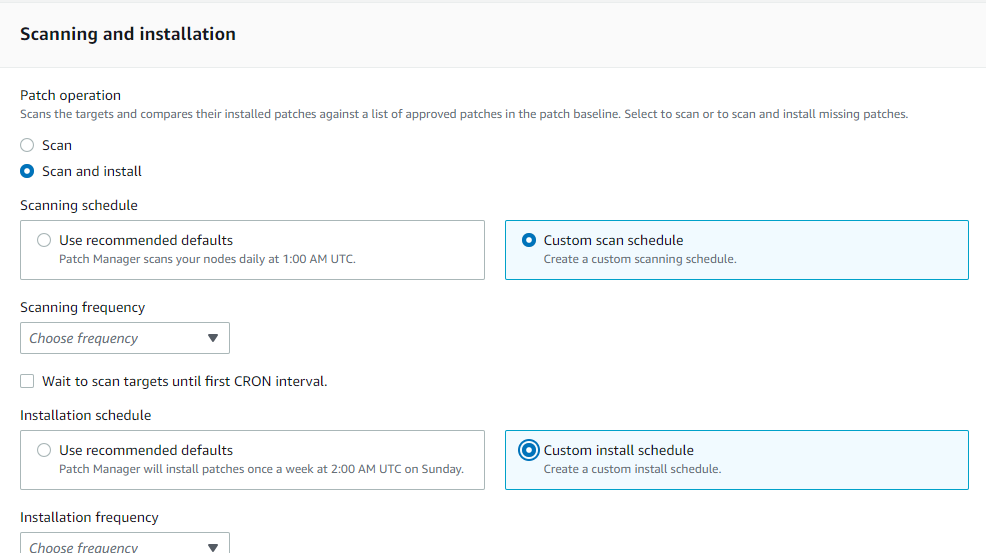
In Patch Operation, choose the appropriate option according to your use case.
Scan:
- When you opt for the “Scan” functionality within AWS SSM Patch Manager, it triggers a scanning operation on your managed instances.
- During the scan process, Patch Manager evaluates the instances for any missing patches and determines which patches are applicable based on your specified patch baseline.
- It’s important to note that the scan operation solely assesses the patch compliance status of your instances; it doesn’t install any patches.
Scan and Install:
- By selecting the “Scan and Install” option in AWS SSM Patch Manager, you not only initiate a scan for missing patches but also automatically apply those missing patches to your managed instances.
- This option is particularly useful when you want to both identify and rectify missing patches in a single operation.
- Prior to using the “Scan and Install” feature, it’s essential to configure your patch baselines to define which patches should be installed on your instances.
Scheduling
Scanning scheduling and Installation scheduling can be done in two ways:
Scanning Scheduling:
Use recommended defaults – Which let Patch Manager scan your nodes daily at 1:00 AM UTC.
Custom scan schedule (Choose frequency) – There are two available options, One is to scan daily and if we don’t want it to scan daily we can write a custom CRON expression which lets you specify the date and time according to your use-case. Example of writing CRON expression – cron(0 2 ? * THU#3 *) i.e., 02:00 AM the third Thursday of every month.
Installation Scheduling:
Use recommended defaults: Patch Manager will install patches once a week at 2:00 AM UTC on Sunday.
Custom Install schedule (Choose frequency): There are two available options; One is to install daily and if we don’t want to install the patches daily we can write a custom CRON expression which lets you specify the date and time according to your use-case. Example of writing CRON expression (same as above, you can customize it according to your use case.) – cron(0 2 ? * THU#3 *) i.e., 02:00 AM the third Thursday of every month.
After the scanning and installation, wait to install updates or quickly install updates – it is a flexible option provided to an AWS user. It’s generally better to wait and also make sure scanning is done 1 or 2 hours before installation for smoother process.
NOTE the “Reboot if needed” option, as this will reboot the instance once all process is done and if restart is needed it will reboot accordingly.

Patch Baseline
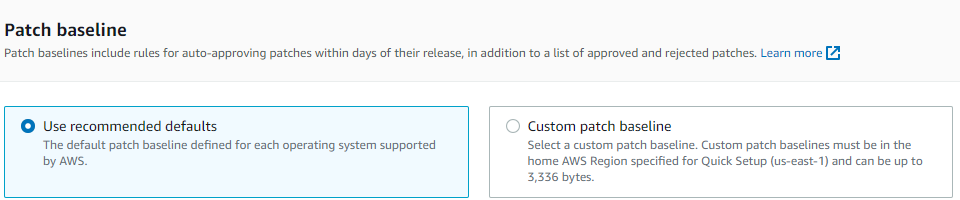
A patch baseline serves as a set of guidelines that outline which patches are authorized for deployment to your Amazon EC2 instances or on-premises servers. AWS SSM Patch Manager streamlines the process of system patching by enabling you to create patch baselines and then associate them with your instances.
There are two options under the Patch Baseline section:
Use recommended defaults: The default base patch baseline is provided by AWS itself for each supporting operating system.
Custom patch baseline: A custom patch baseline within SSM Patch Manager is a personalized patch baseline tailored to your organization’s unique requirements and patch management protocols. Unlike AWS’s default patch baselines, which come with predefined rules and configurations, a custom patch baseline empowers you to establish your own set of rules and criteria for approving and implementing patches on your instances. This provides you with the flexibility to align patching activities with your specific organizational needs and policies, distinguishing it from AWS’s preconfigured baselines.
NOTE – If possible, make sure to use recommended default patch baselines as these are managed and supported by AWS itself.
Patching log storage
Store patching operation logs in an Amazon S3 bucket, this will help in further analysis and you can have a transparent view of what and which version of the patch is being installed, as the logs are being sent to the S3 bucket we can also manage the retention and keep the logs for longer period of time as required.

Targets
Select the region, If all of your instances are in the current region then keep the current region selected but if your instances are in some other regions select that particular region (Multiple regions can be selected). However, in this blog, we will be selecting the “current region” as we have our instances in this current region itself.

Select “All the managed nodes” or “Specify the resource group” according to your use-case. As for the current scenario we will select the “All managed nodes” option as don’t have any resource group, but if there is a resource group created we can choose that and proceed further.

Select your target instances. There are two ways by which this can be achieved; if instances are tagged properly then they can be instantly selected with the help of those tags but if they are not tagged, we need to specify those instances manually.

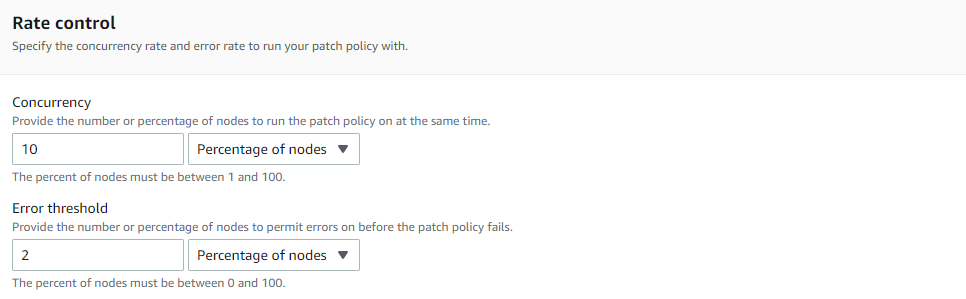
Rate Control
The Rate control section applies when running the patch policy on multiple instances. For the Error threshold, specify the number or percentage of nodes that are allowed to fail before the patch policy fails.
Keep it as default, if needed this can be changed according to the different use-case.
Instance profile option
Make sure to select “Add required IAM policies to existing instance profiles attached to your instances.” This will automatically attach the necessary IAM policies to your instances which are required by the patch manager to complete its process smoothly and without any interruption.

Summary
When the creation of a patch policy is completed and before hitting “create”, make sure to review the configuration in the summary section at the bottom. This will showcase all of your input and the policy that will be created to patch your ec2 instances.
About the author
Shreyash Sachan, a Cloud Engineer at QloudX with over 2+ years of AWS experience and an AWS Certified Solution Architect.
Shreyash specializes in Cloud Security, Cost Optimization and Managing Cloud Infrastructure for clients.
He excels in providing Managed Services to a diverse clientele and has already crafted numerous solutions during his on going Cloud journey.